Ciao belli!
On the 19th of November 2020, SONY finally released the new PlayStation 5 in the UK. A few days earlier in the US, Japan, and Canada. Of course, Play Station 5 came together with a new Wireless Controller, this time named DualSense. I wanted to see if I could continue my PlayStation controller adventures on this new device, following on my previous work.


DualSense Wireless Controller
The DualSense Wireless Controller presents new features such as:
- Haptic feedback, vibration sense via actuators (no more rumble motors), these are the components that manages and controls the movement mechanism.
- Adaptive triggers, intensified game experience interaction when force and tension are applied on buttons.
- A built-in microphone.
- More LEDs.
I bought it just for the sake of playing with it. The DualSense Wireless Controller. Yes, just the DualSense Wireless Controller.
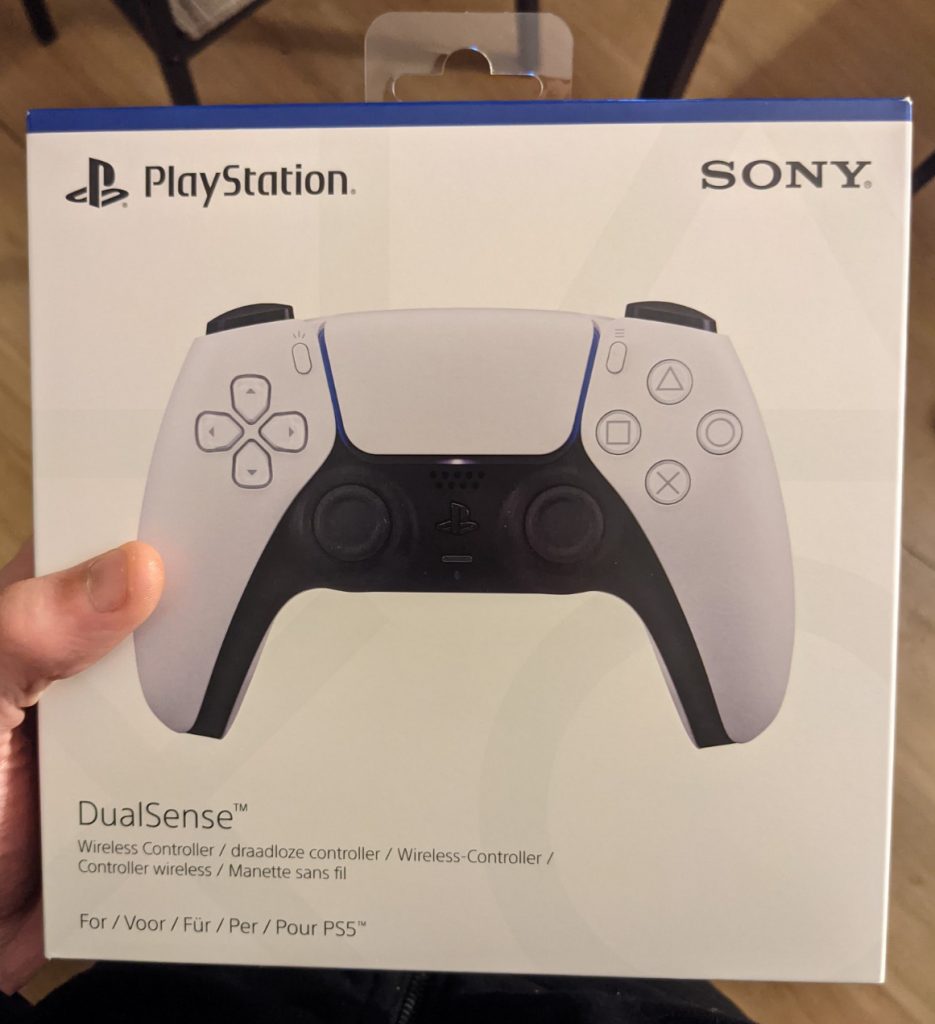
When using the DualSense via USB it was possible to hear sounds from the speaker. With the DualShock 4, this was not possible. The speaker of the DualSense works in Stereo mode. What a pity, the speaker of the previous controller, the DualShock 4, was in Mono mode and I loved it for this reason. The quality of the sound issued when playing blues reminded me of a vintage radio. One of those that are convenient to have while camping. I don’t know… there was some kind of magic to it.
Teardown
Below is a little teardown of the DualSense Wireless Controller model CFI-ZCT1W.
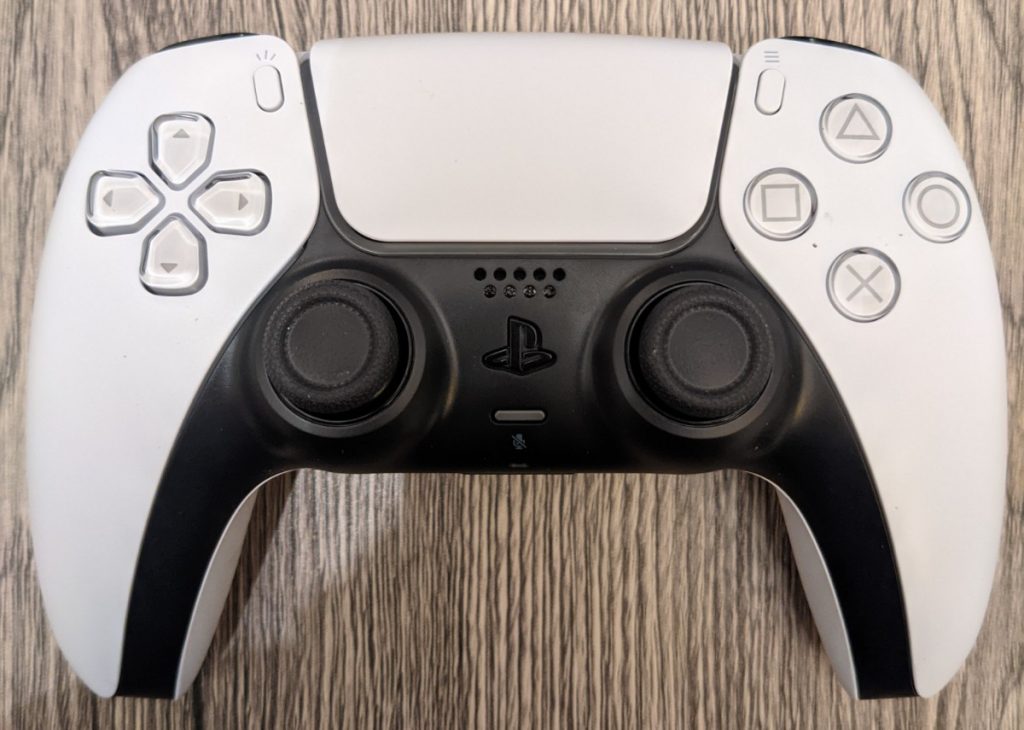
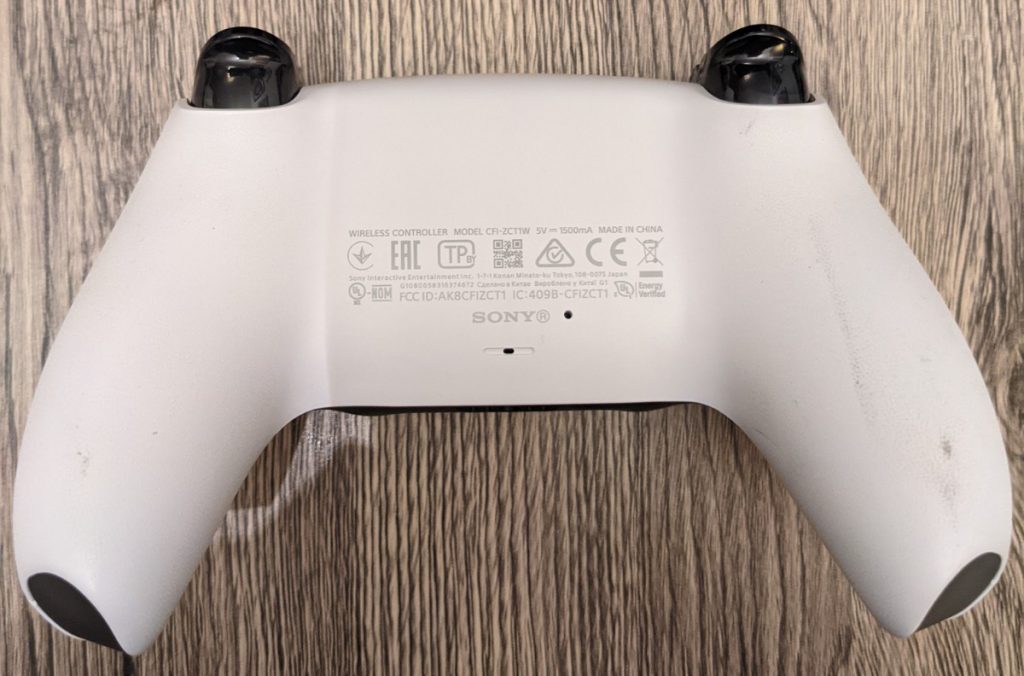
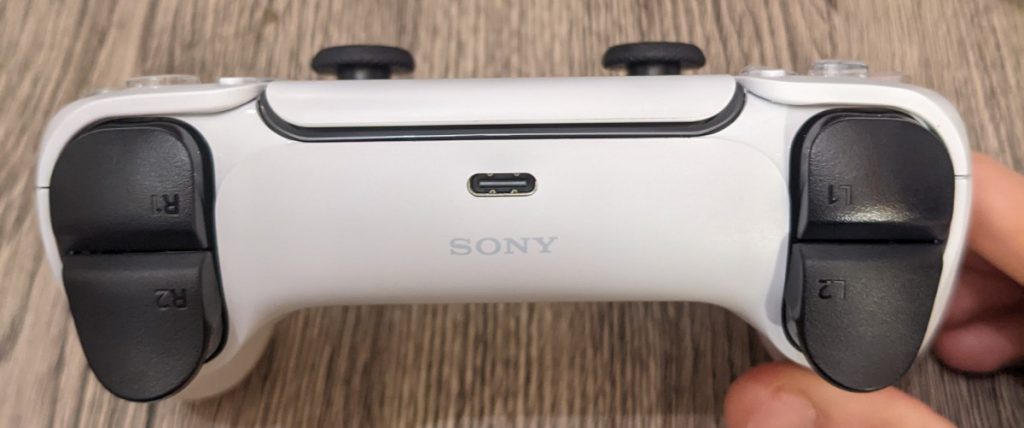
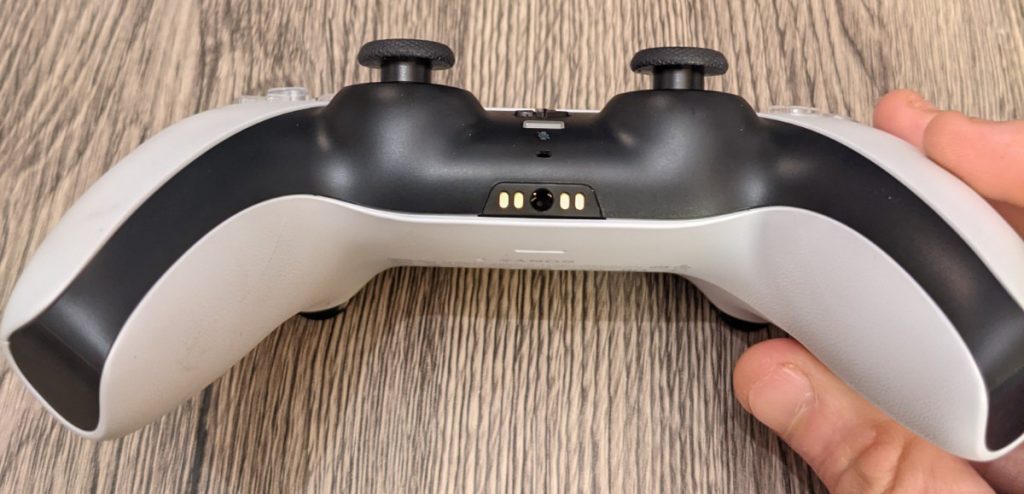
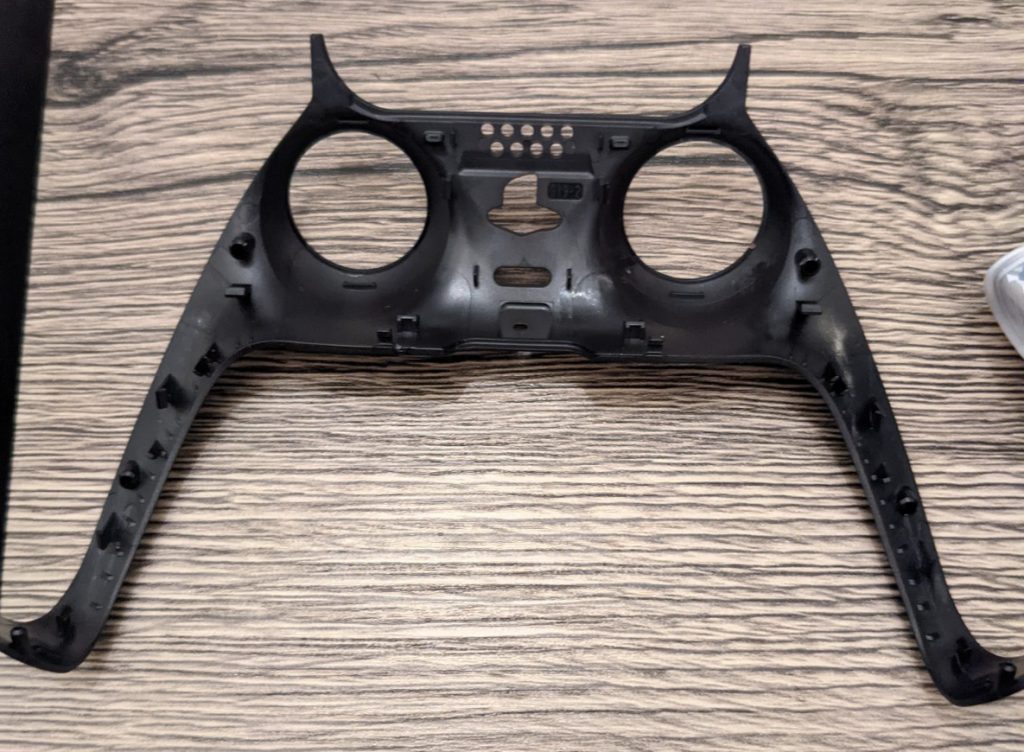
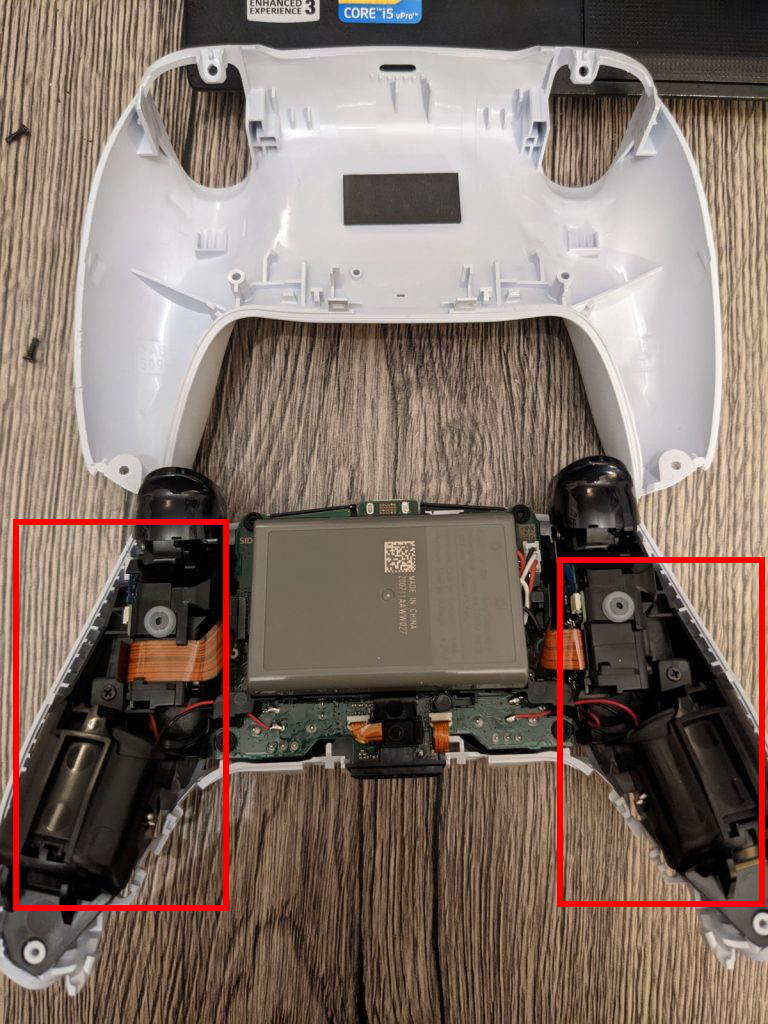
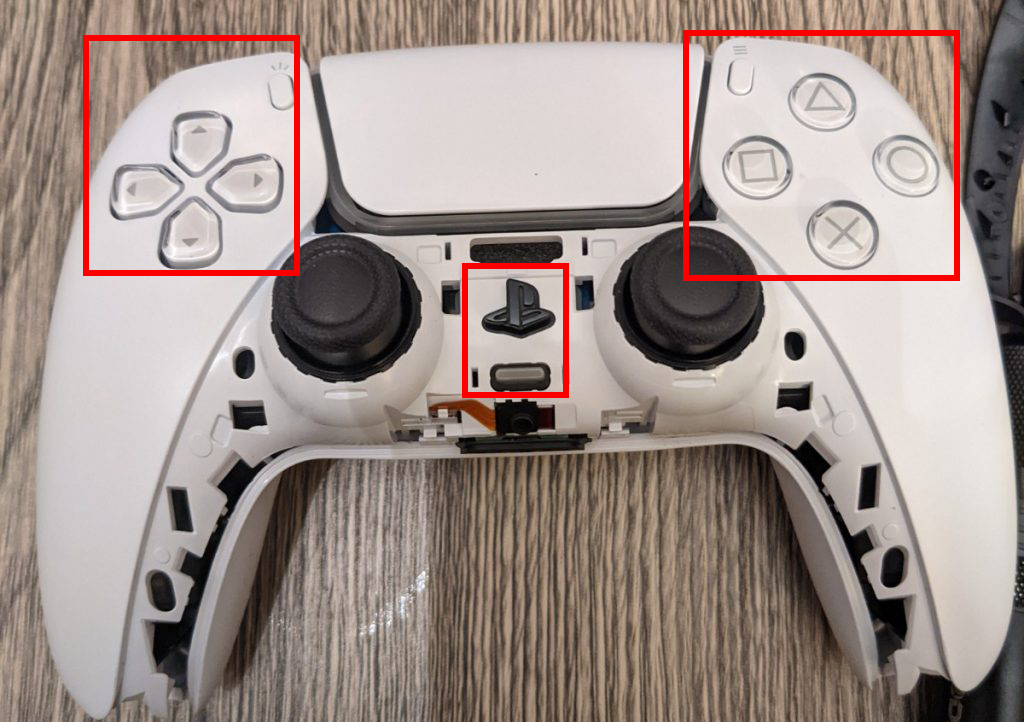
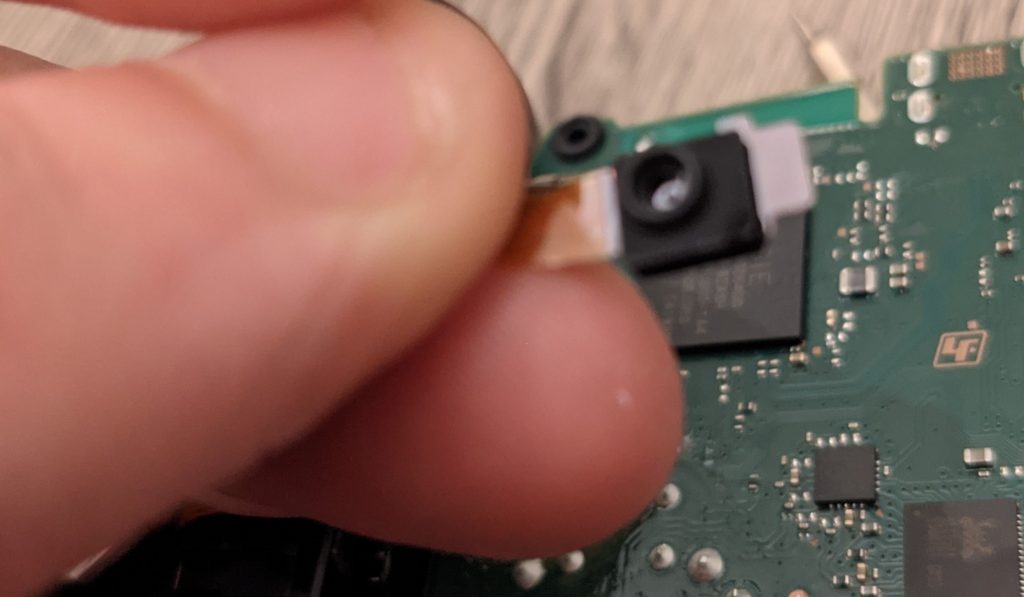
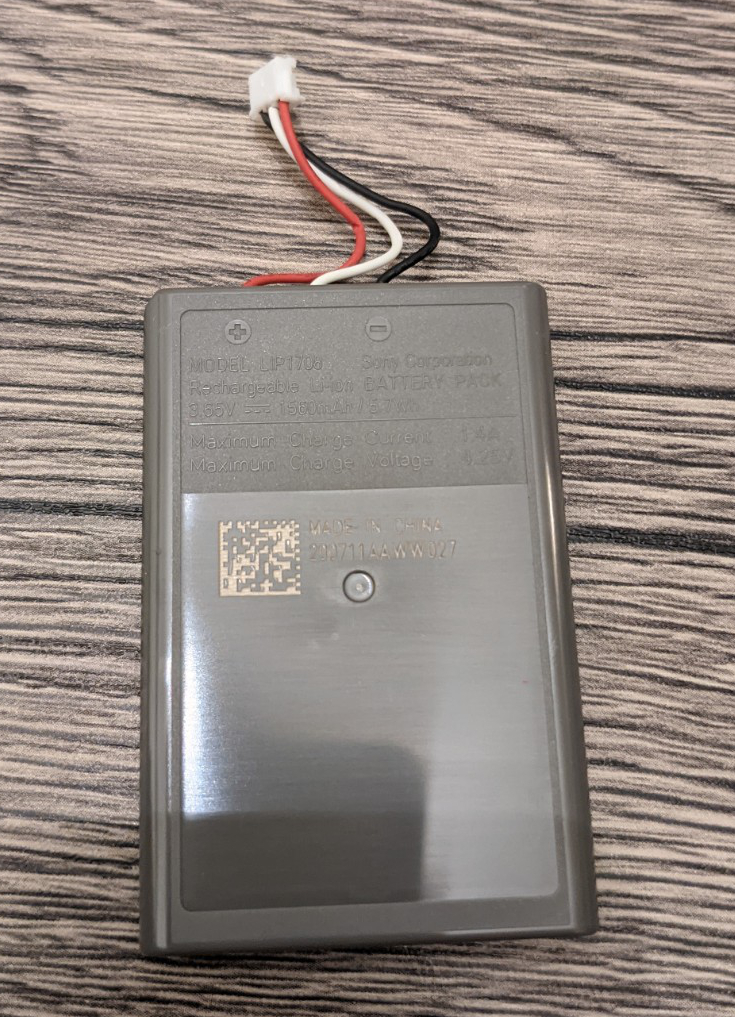
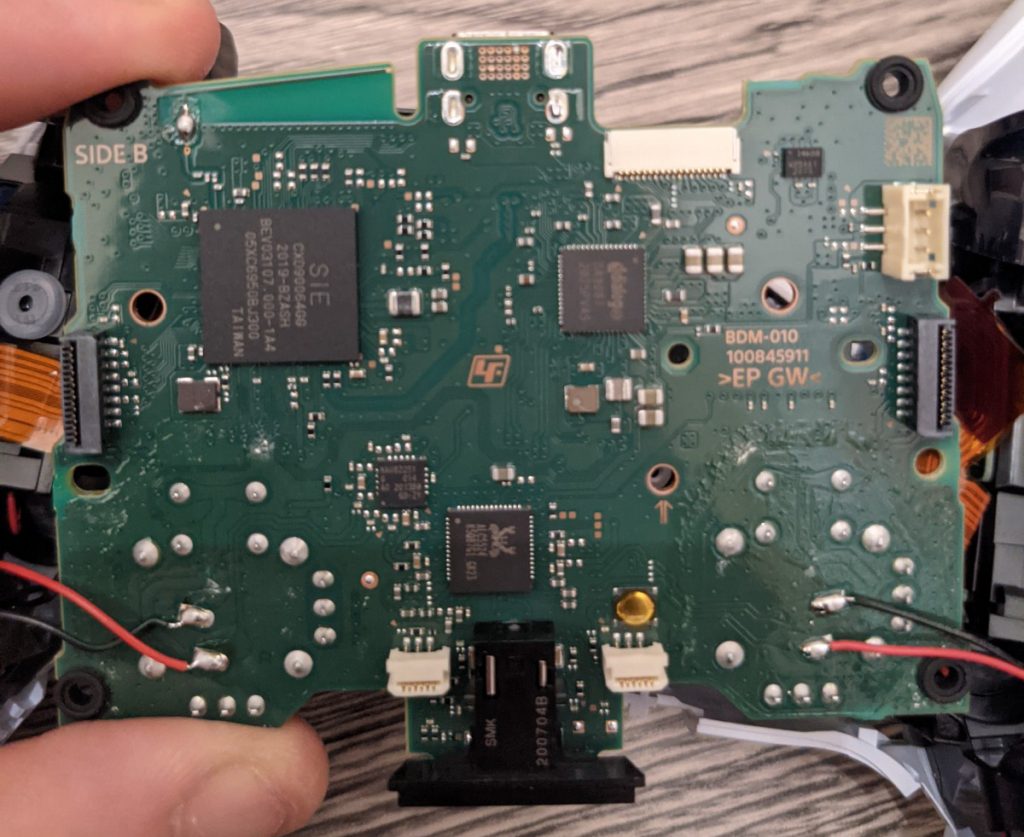
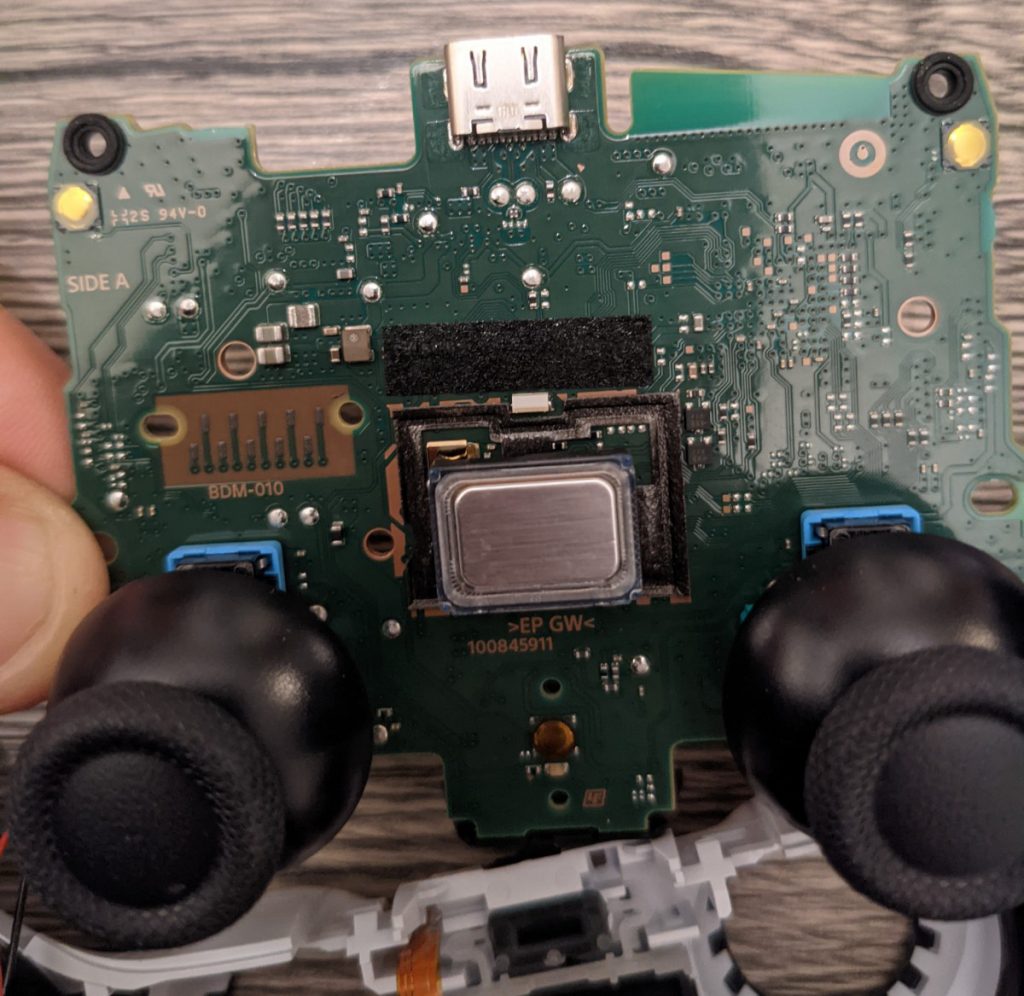
I spent the last weekend reversing the DualSense Wireless Controller. Tests were conducted after connecting the DualSense to a host machine via a USB cable and, with a few lines of code, it was possible to read HID reports sent by the device.
char *DS = "/dev/hidraw0";
char bufRead[16];
int fd, res;
fd = open(DS, O_RDWR|O_NONBLOCK);
/* Get a report from the device */
res = read(fd, bufRead, sizeof(bufRead));
if (res < 0) {
 perror("read");
} else {
 printf("read() read %d bytes:\n\t", res);
 for (i = 0; i < res; i++){
  /* This will print out the part we are interest at */
  printf("%hhx ", bufRead[i]);
  puts("\n");
 }
}
close(fd);
return 0;
The output generated by the above piece of code changed each time a button was pressed down. The buttons Square, Exe, Circle, and Triangle were associated with the byte number 8 and its value changed every time one of those buttons were used.
Square: 0x18
Exe: 0x28
Circle: 0x48
Triangle: 0x88
Below some examples.


I wrote a script and started sending a bunch of bytes at a time to the DualSense in order to understand how to control/use its functionalities.
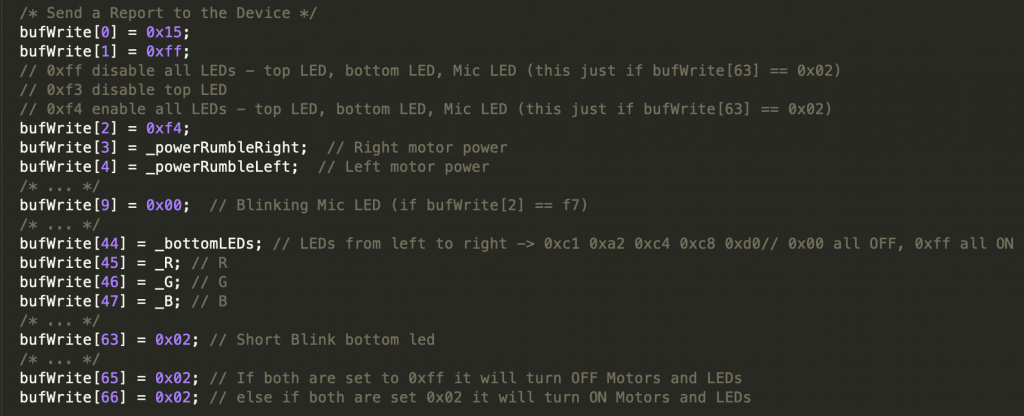
A few hours later, this resulted in me being able to intercept the pressed buttons and trigger LEDs and actuators.
The full Proof of Concept is available on GitHub.
Dual-Pod-Shock
Happy with the result I obtained in such a short time, I decided to work on the Dual-Pod-Shock project I have been working on last year and added the same functionalities to interact with the device while the music is playing. For more information about the Dual-Pod-Shock project refer to this page: https://orangecyberdefense.com/global/blog/sensepost/dual-pod-shock-emotional-abuse-of-a-dualshock/
With Dual-Pod-Shock it is now possible to use the new functionalities by pressing Square, Exe, Circle, and Triangle. One at a time. This action will also trigger the LED, which will change colour based on the button that is pressed.
Below the new functionalities implemented:
- Square: Decrease the volume (R: FF, G: 14, B: 93)
- Exe: Increase the volume (R: 00, G: 00, B: FF)
- Circle: Switch ON the motors (R: FF, G: 00, B: 00)
- Triangle: Switch OFF the motors (R: 00, G: FF, B: 00)
In order to play some music via Bluetooth, it was necessary to use SBC files. These files were generated by using a Gstreamer plugin called SBCENC. With the first attempts, the results were good but the audio was a bit stuttery. Multiple tests were conducted to mitigate this problem. Finally, the problem was solved by converting the tracks from MP3 to SBC using the below command.
$ gst-launch-1.0 -q filesrc location=audiofilename.mp3 ! decodebin ! audioconvert ! audiosample ! sbcenc ! "audio/x-sbc,rate=32000,channels=2,channel-mode=dual,blocks=16,subbands=8,allocation-method=snr,bitpool=25" ! queque ! filesink location=audiofilename.sbc sync=false
Using the “snr” method instead of “loudness” the quality of the sound produced by the DualShock 4 seemed better. Below is what changed in terms of SBC headers.
// Before
9c 75 19

// After
9c 77 19
The updated script is available on GitHub.
Note that this script was tested on Ubuntu 16.04 with kernel 4.4.0 and Raspberry OS with kernel 4.4.50+. If you have issues try to implement the CRC32 or patch your kernel.
Thanks for reading.
Proudly made by one of those lazy Italians.
HAPPY HACKING! <1337
